전체 테두리를 주는 방법은 간단하다.
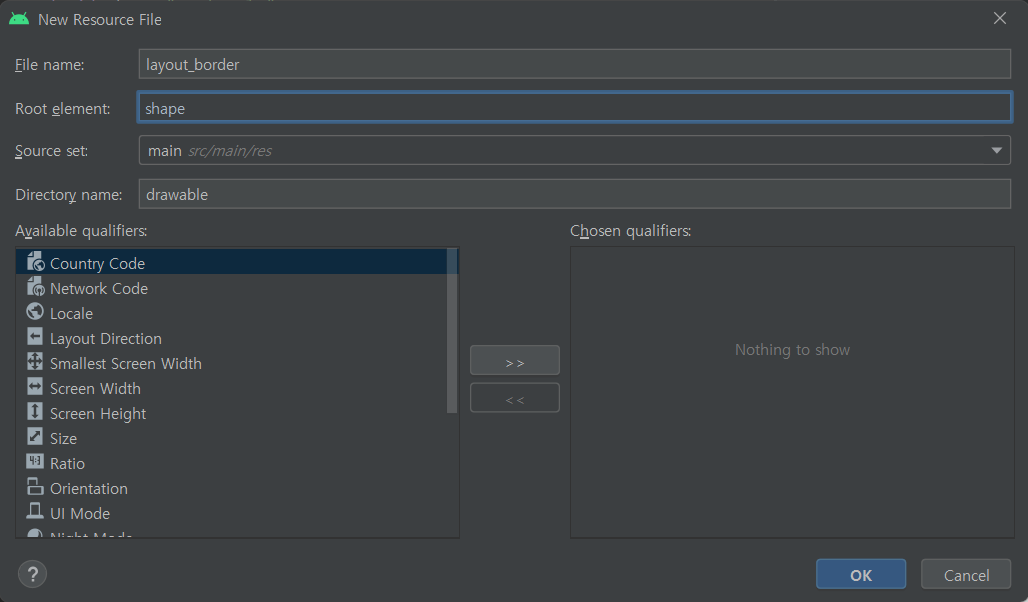
drawable > new > Drawable Resource File로 파일을 하나 만든다. 이때 Root element는 shape으로 바꿔줘도 되고 나중에 코드에서 바꿔줘도 된다.
테두리 설정하기
stroke로 테두리를 추가해줄 수 있고 width로 두께, color로 색깔을 지정해줄 수 있다.
<?xml version="1.0" encoding="utf-8"?>
<shape xmlns:android="http://schemas.android.com/apk/res/android">
    <stroke
        android:width="1dp"
        android:color="#000000"/>
</shape>
모서리 둥글게 만들기
모서리는 corners를 이용해 둥글게 만들 수 있고 radius로 둥글기의 정도를 정할 수 있다.
<?xml version="1.0" encoding="utf-8"?>
<shape xmlns:android="http://schemas.android.com/apk/res/android">
    <corners
        android:radius="10dp"/>
    <stroke
        android:width="1dp"
        android:color="#000000"/>
</shape>
배경색 변경하기
solid를 이용하여 배경색을 변경할 수 있고 color로 색상을 정할 수 있다.
<?xml version="1.0" encoding="utf-8"?>
<shape xmlns:android="http://schemas.android.com/apk/res/android">
    <solid
        android:color="@color/white"/>
</shape>
레이아웃에 적용하기
이제 위에서 만든 파일을 layout에 적용해보자. LinearLayout으로 예를 들어보자.
아래와 같이 background에 넣어주면 된다.
<LinearLayout
    android:layout_width="match_parent"
    android:layout_height="wrap_content"
    android:background="@drawable/layout_border">
</LinearLayout>
'Android > Kotlin' 카테고리의 다른 글
| [Kotlin] javax.net.ssl.SSLException: Unable to parse TLS packet header (0) | 2022.08.24 |
|---|---|
| [Kotlin] Bottom Navigation (0) | 2022.08.17 |
| [Kotlin] Toolbar & 뒤로가기 적용하기 (0) | 2022.07.15 |
| [Kotlin] Action Bar 숨기기 (0) | 2022.05.04 |
| [Kotlin] View Binding (0) | 2022.05.03 |

댓글