모듈 설치
아래와 같이 모듈 설치한 후 꼭 npx pod-install 해주세요!
npm install --save react-native-vector-icons
Android 세팅
1. android > app > build.graddle에 아래 코드 추가
project.ext.vectoricons=[
    iconiconFontNames:['Ionicons.ttf', 'MaterialCommunityIcons.ttf', 'MaterialIcons.ttf', 'FontAwesome.ttf', 'Entypo.ttf', 'AntDesgin.ttf']
]

apply from: "../../node_modules/react-native-vector-icons/fonts.gradle"

dependencies{
    ...

    implementation project(':react-native-vector-icons') //추가
}
dependencies는 아래쪽에 이미 있으니 잘 보고 추가해주세요!
2. android > settings.gradle에 아래 코드 추가
include ':react-native-vector-icons'
project(':react-native-vector-icons').projectDir=new File(rootProject.projectDir, '../node_modules/react-native-vector-icons/android')
이러면 Android는 세팅이 끝납니다! 간단하죠?
iOS는 Android보다 조금 복잡합니다.
iOS 세팅
1. xcode로 프로젝트의 ios > projectName.xcworkspace 열고, projectName폴더 아래에 New Group으로 Fonts 그룹 추가

2. Fonts 그룹에 ttf 파일(프로젝트 > node_modules > react-native-vector-icons > Fonts 하위 파일들)을 복사/붙여넣기

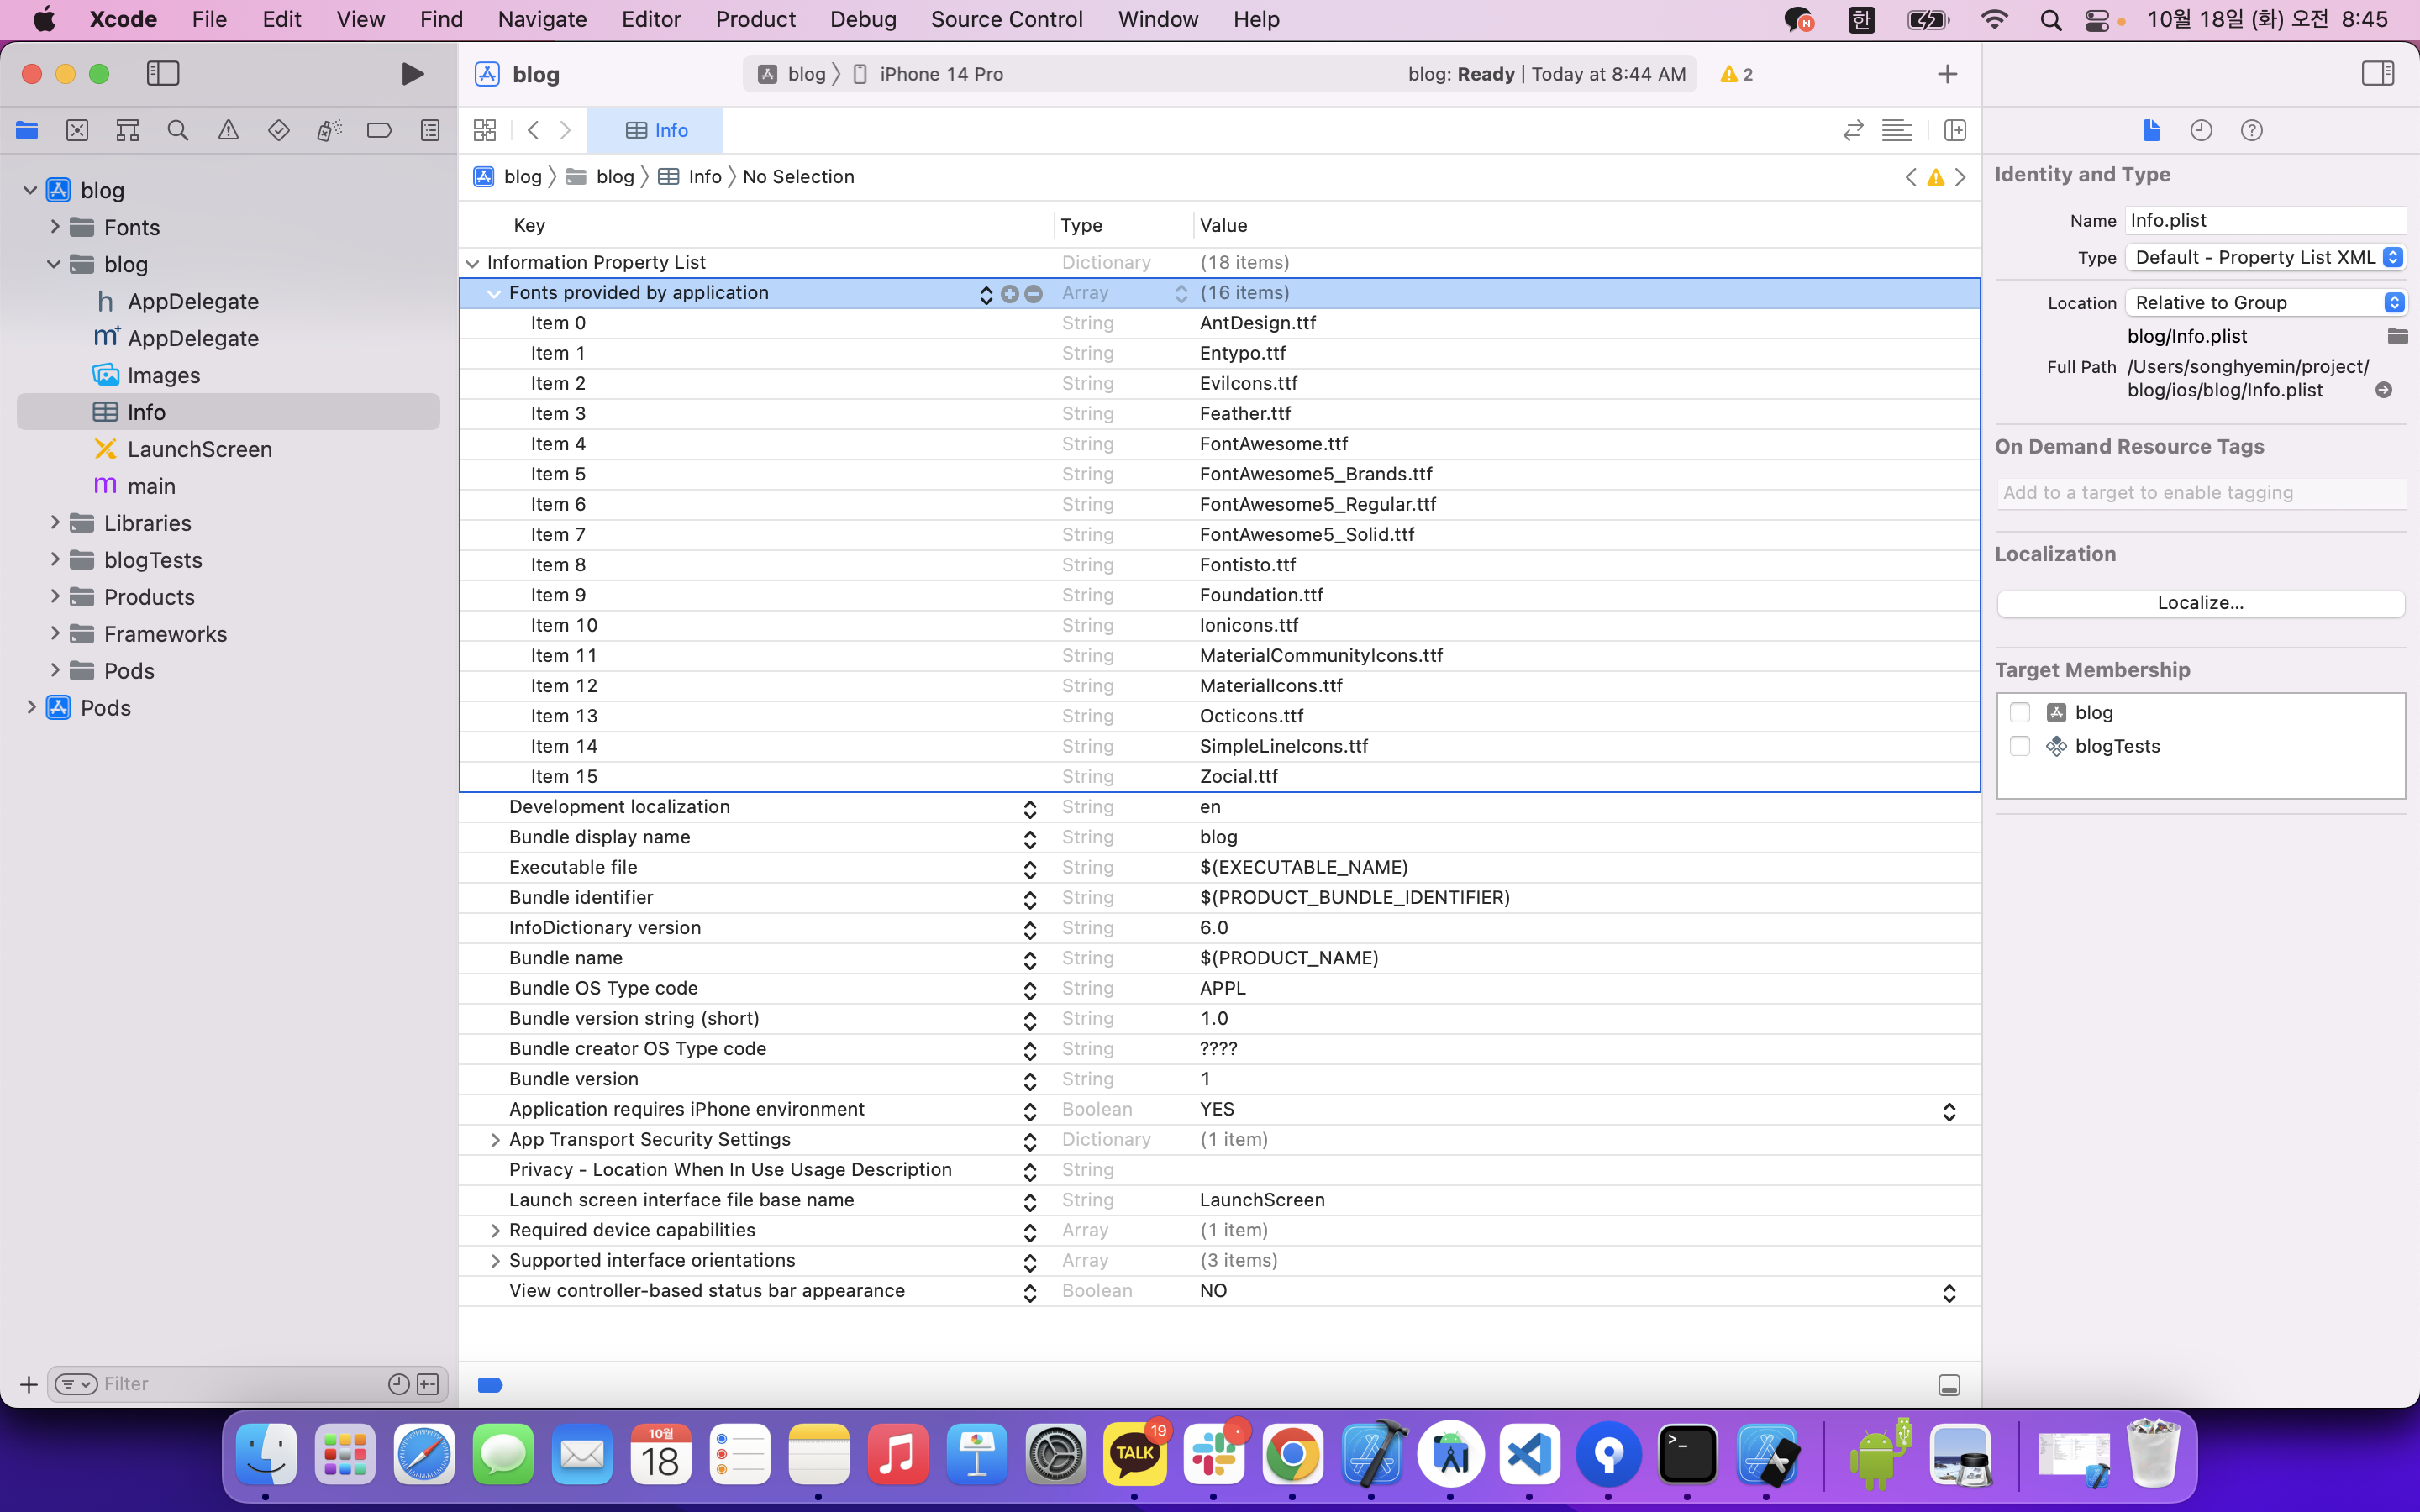
3. projectName > projectName > Info.plist에 Information PropertyList 아래 아무거나 클릭한 후 뜨는 +버튼을 클릭하여 Fonts provided by application 추가
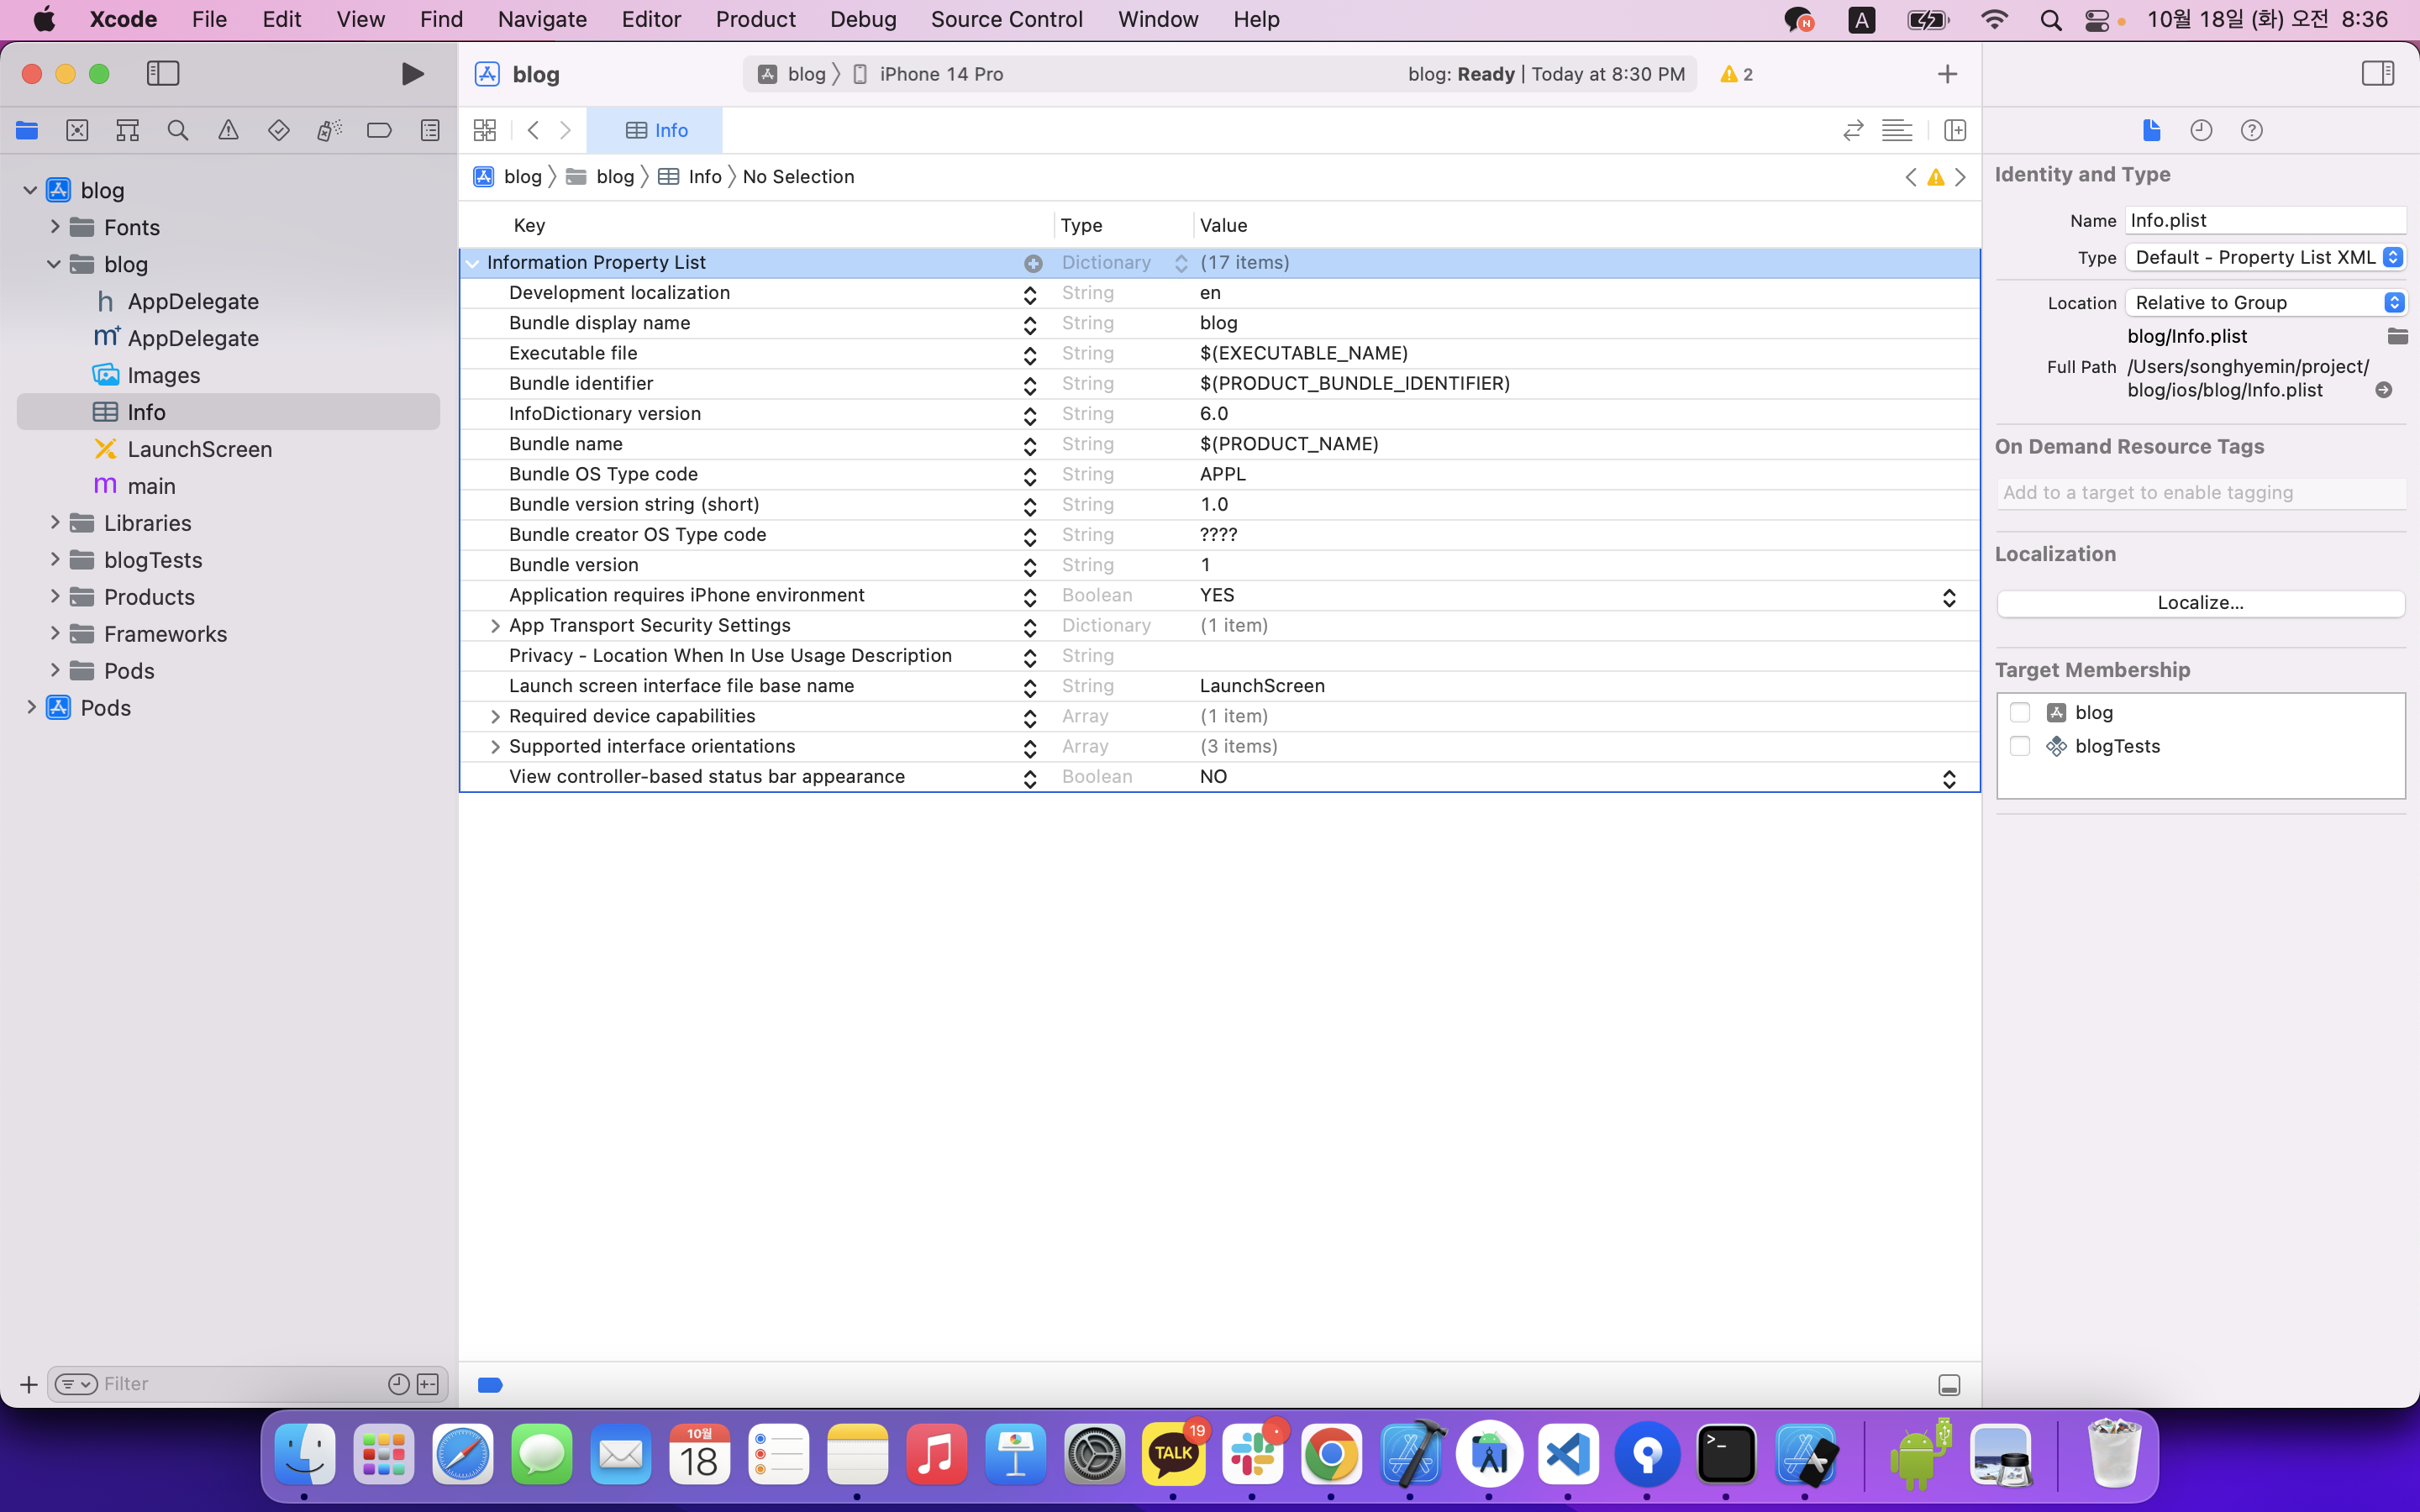

Fonts provided by application 밑에 item을 +버튼으로 추가해가면서 Value에 .ttf 파일 추가
아래처럼 다 넣을 필요는 없고 필요한 파일들만 추가해도 괜찮습니다.
4. xcode clean(Command + Shift + K) 및 빌드(Command + B)
이제 마지막으로 위 명령들을 실행해 파일들을 적용해주기만 하면 됩니다.
사용방법
사용방법은 간단합니다.
아이콘 사이트:
https://oblador.github.io/react-native-vector-icons/
react-native-vector-icons directory
oblador.github.io
위 사이트에 들어가서 원하는 아이콘을 찾습니다.
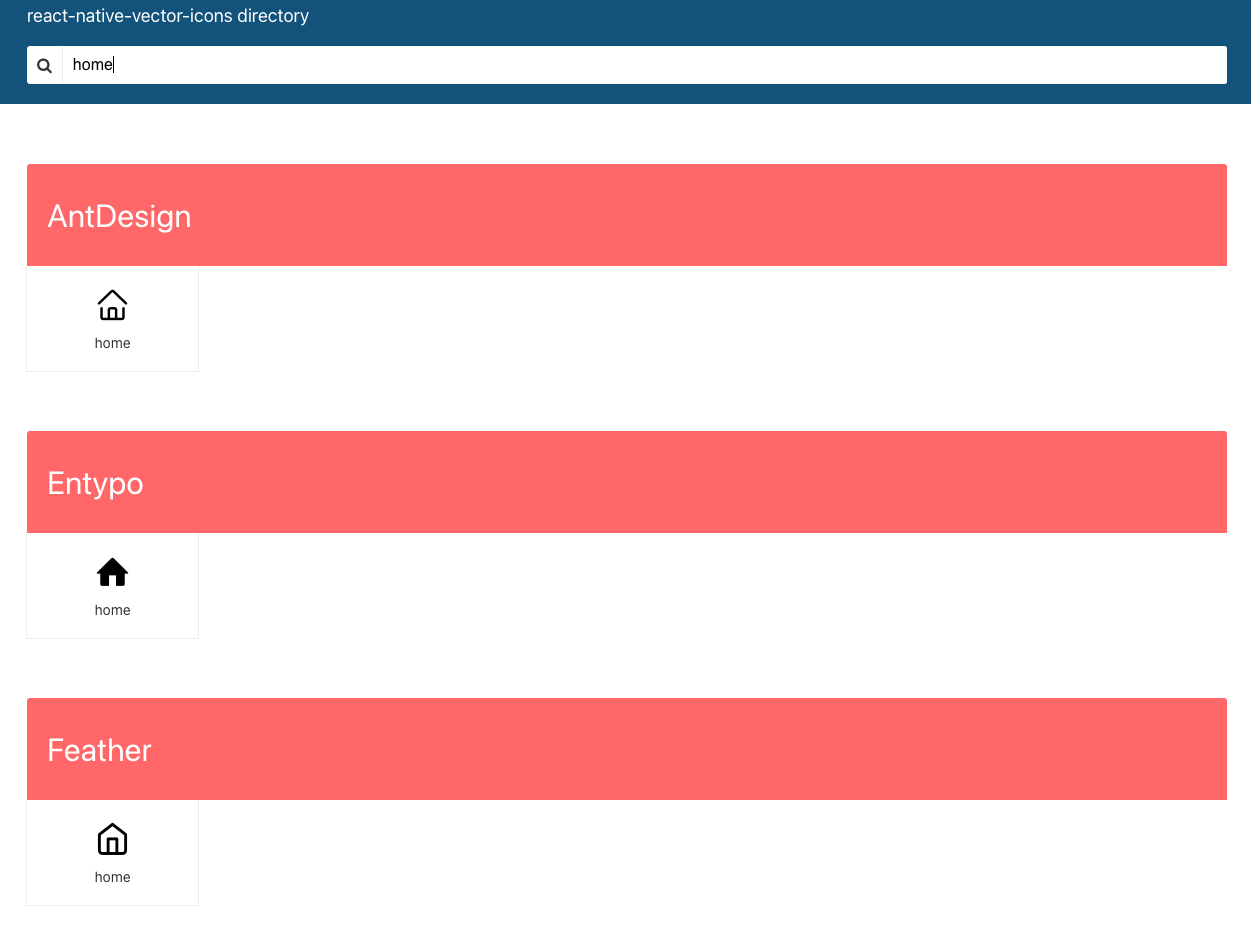
이런 식으로 검색해서 찾아볼 수도 있습니다. 저는 Feather의 'home' 아이콘을 사용해보겠습니다.
import Feather from 'react-native-vector-icons/dist/Feather';원하는 아이콘 파일을 import 하고
<Feather name="home" size={30} />원하는 곳에 위와 같이 적으면 그대로 적용됩니다.
이전 글에 적은 Bottom Navigation에 한번 적용해보도록 하겠습니다.
탭에 다음 코드를 넣으면 아이콘을 적용할 수 있습니다.
options={{ tabBarIcon: ()=> <Feather name="home" size={30}/> }}Navigation이 있는 파일에 다음과 같이 넣어줍니다.
import React from 'react';
import {createBottomTabNavigator} from '@react-navigation/bottom-tabs';
import {NavigationContainer} from '@react-navigation/native';
import Home from './src/Home';
import Settings from './src/Settings';
import Feather from 'react-native-vector-icons/dist/Feather';

const Tab = createBottomTabNavigator();

const App = () => {
  return (
    <NavigationContainer>
      <Tab.Navigator initialRouteName="Home">
        <Tab.Screen
          name="Home"
          component={Home}
          options={{tabBarIcon: ()=> <Feather name="home" size={30}/> }}
        />
        <Tab.Screen
          name="Settings"
          component={Settings}
          options={{tabBarIcon: ()=> <Feather name="settings" size={30}/> }}
        />
      </Tab.Navigator>
    </NavigationContainer>
  );
};

export default App;
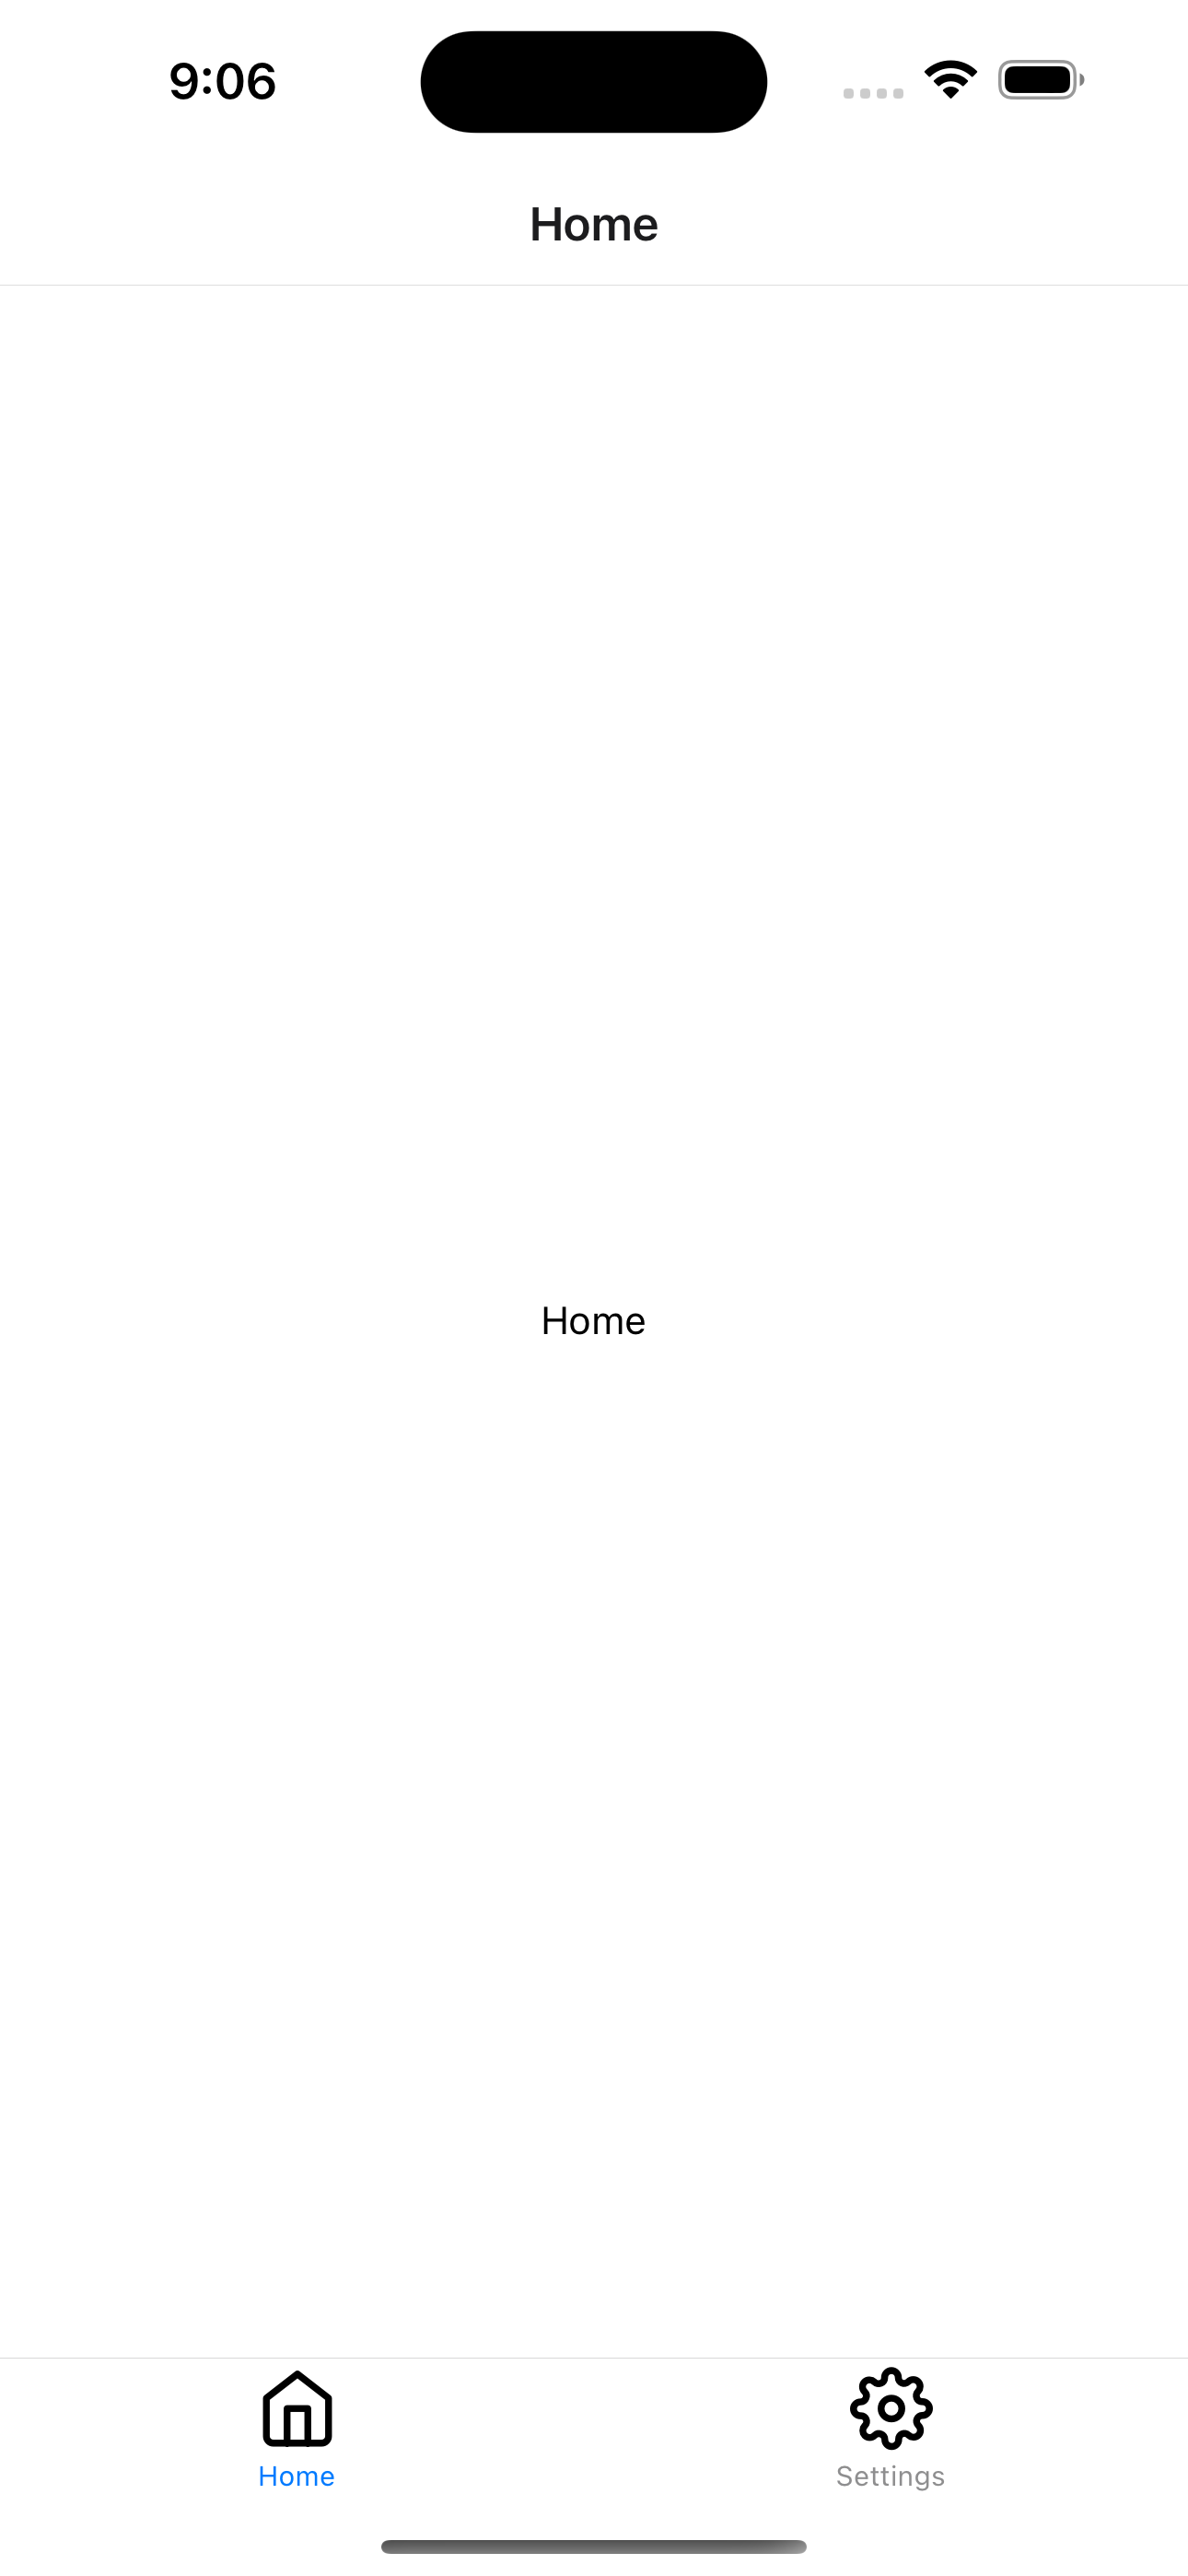
이제 실행해보면 Android 와 iOS 둘다 잘 적용된 것을 볼 수 있습니다.
 |
 |
'Android > React-Native' 카테고리의 다른 글
| [React-Native] Stack과 Tab Navigation 같이 쓰기 (0) | 2022.10.22 |
|---|---|
| [React-Native] Stack Navigation (0) | 2022.10.20 |
| [React-Native] Bottom Navigation (0) | 2022.10.17 |
| [React-Native] SectionList (2) | 2022.10.15 |
| [React-Native] FlatList (0) | 2022.10.14 |


댓글